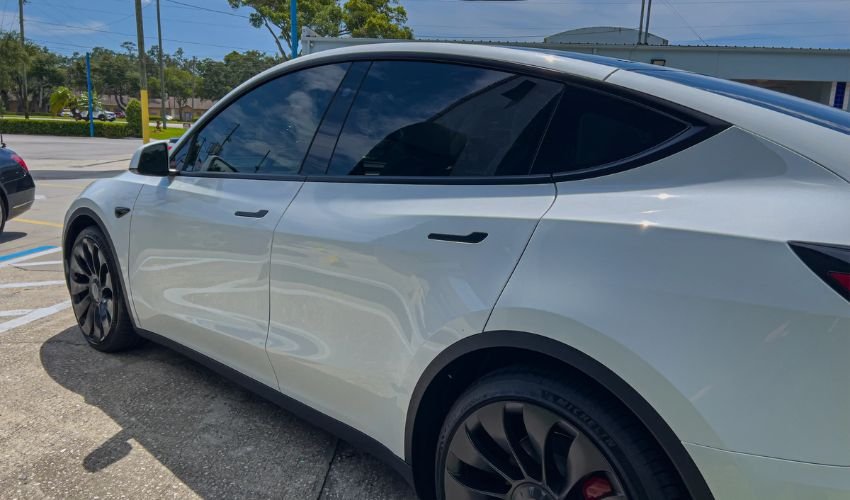
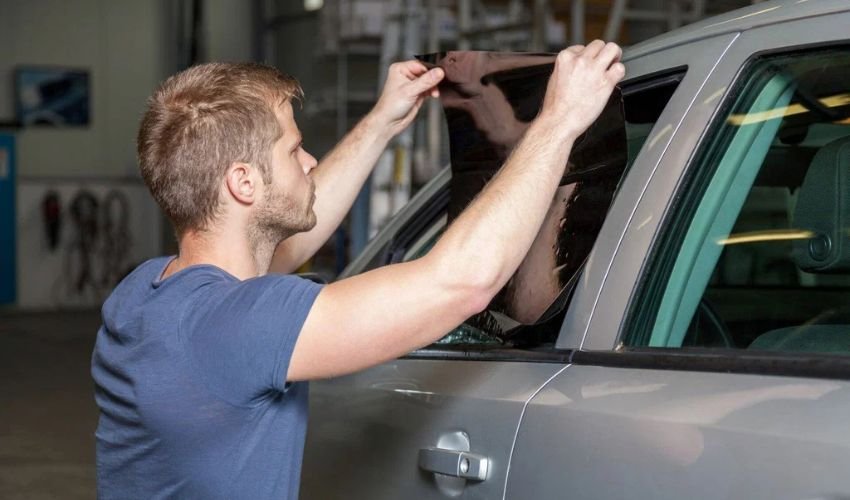
Window tint is the thin PET (polyethylene terephthalate) film that is used to cover the window glass of your vehicles. Tint film not only preserves your car interior but also reduces the outside glare. You can give your car a luxurious and classy look by installing window film on the side windows of your automobile. You can find different types of window tint film, including dyed, ceramic, metalized, or carbon, as per your choice and car’s functional requirements.
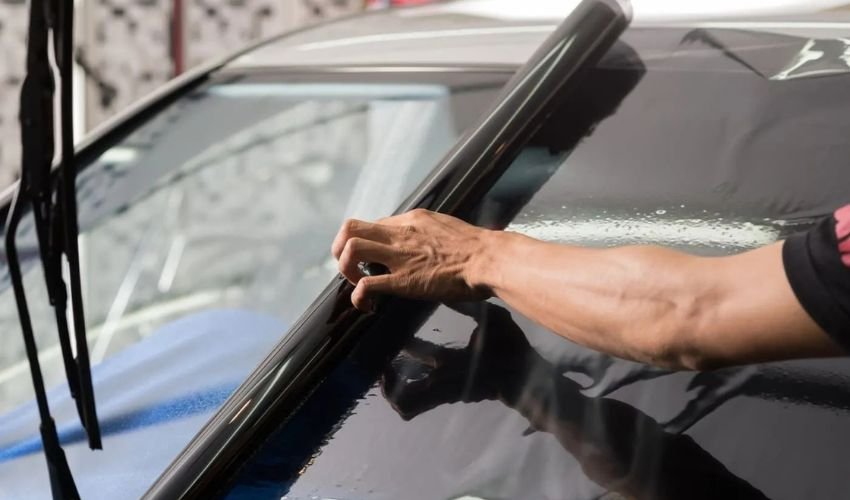
Installation of window tint film is an effortless task to do, as it doesn’t require any physical effort or special tools and equipment. But if you are an amateur or beginner, you probably will not be able to install it perfectly at first unless you are lucky enough. The poor installation of tint film can result in bubble formation. With that being said, we have come up with a brief guide to help you eliminate the bubbles from the car window’s surface.
Possible Reasons For Bubble Formation On The Car Window Tint
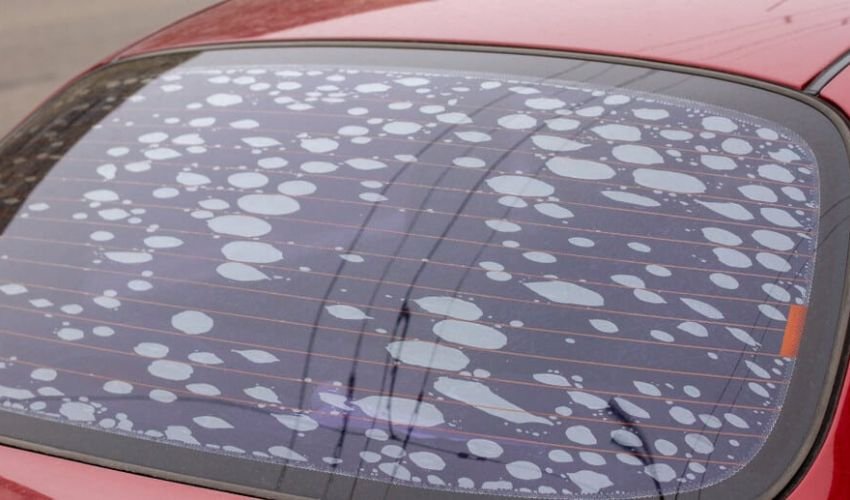
When the water gets trapped between the tint film and the car window, bubbles start to appear on the vehicle window glass. These bubbles are normal to be formed on the window after a few hours of installation. Another significant reason is the poor installation, which is why bubbles appear right away after the installation. If tint film loses its adhesive properties, it can also lead to bubble formation on the window tint film Dubai.
Easy Ways To Remove The Bubbles Out Of Tint Film
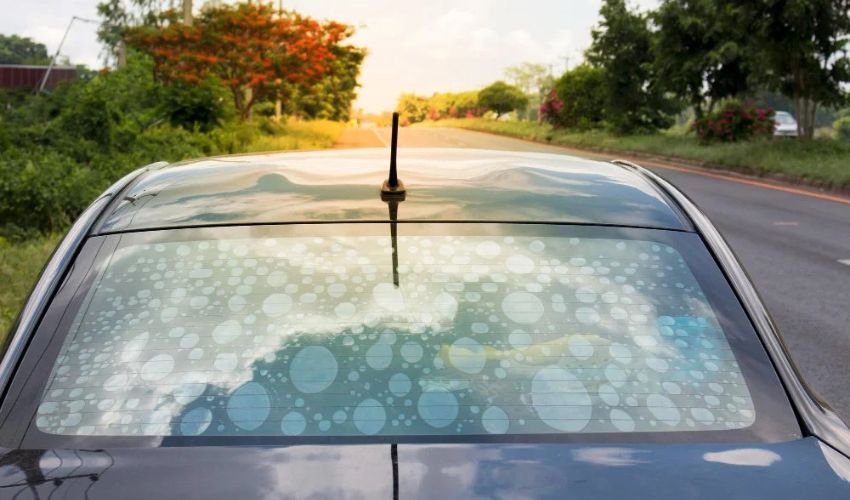
If the window film was installed by professionals, you must consult them if the bubbles appear on the window. As you know the reasons, so, before you start with the process, decide if you want to do it yourself or want a professional’s help. If you are eager to remove window tint bubbles by yourself, let’s take a step toward effective ways to clear out bubbles.
1. Applying Heat
Turning up the heat is the first working step to make the window film flexible to eliminate bubbles. This is because they will either break or split when the tint film and adhesive backing are not flexible. If the weather is warm, you can place your vehicle in the sunlight. Solar heat is perfect to warm up the film and heat up the adhesive underneath.
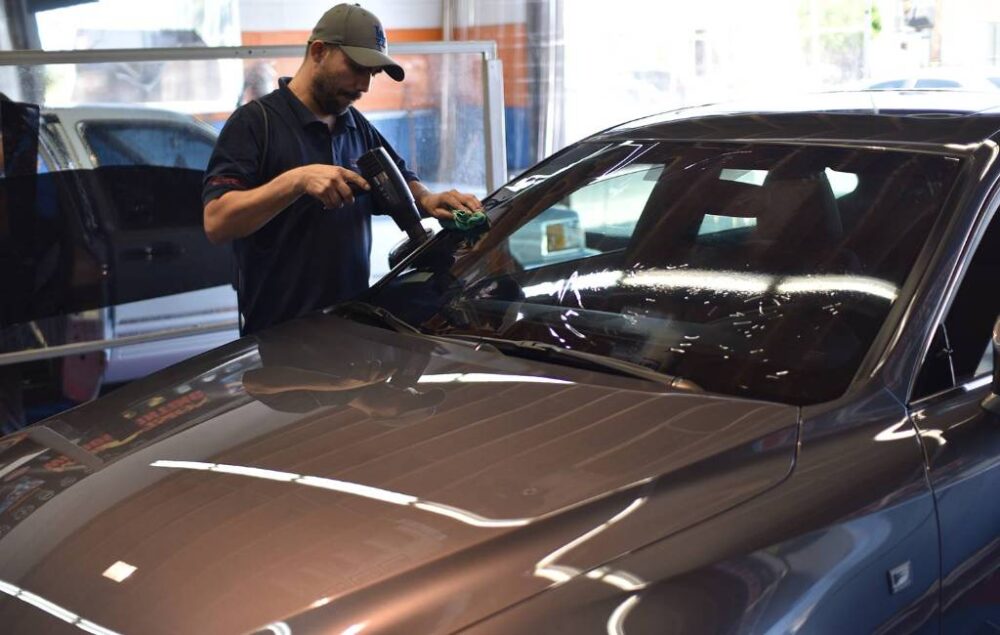
Another alternative for heat application is the use of a heat gun. You can place the heat gun or hair dryer near the windows and give it the proper heat for a few minutes. If it’s the winter season, you can plug in the portable heater for a heated environment and then use the heat gun on the respective window. When using the heat gun, make sure to heat each window one at a time, as dealing with other windows will cause them to cool down again in the meantime.
2. Use Soap & Water Solution
The next step after ensuring that the film is flexible enough is to use the soapy solution. You can use a spray bottle easily available at stores. Fill the bottle with water along with the liquid detergent and give it a good shake. It is best to make this solution before you heat the film.
Spray the soapy solution as soon as you finish up the heating work for a favorable outcome. The soapy water will interact with the heat and make it more flexible to make your work easier for you.
3. Pinning Bubbles
To start with this, you will need a sharp or pointed pin to target the window tint bubbles. A safety pin will work well for this purpose, and it is easier to hold too. Make a tiny hole in the middle of each bubble using the pin. If the window film is new, there’s no need to worry about the poking holes, as they’ll seal back soon.
Be gentle while using the pin, as piercing can damage or tear out the film. But the flexibility of the adhesive backing and film is super important to get this job done effectively. Besides, aim at the point correctly to avoid your investment from going to waste because the damaged film cannot be repaired. You can also respray the entire window while working on it for additional flexibility.
4. Squeegeeing the Air
Sometimes bubbles appear on the window tint film when you take too much time to install the window film. You can press the air out by pressing the air bubbles to squeegee the air. You will need a squeegee for this purpose, or you can use an HD plastic like a credit card.
Starting with the outermost edge of the bubble, you can gently scrape the air bubbles out with the help of a credit card. To iron out these bubbles, the least you can do is squeegee. Avoid exerting too much pressure with credit cards to not tear the window film. Hold the card firmly at a 45-degree angle to the window surface.
To Conclude
Window tint is an excellent choice to reduce the sunlight and outside glare that comes inside your vehicle. Car window tint is made from different types of materials to protect the interior of your car. However, when it comes to the process of installation, an amateur may find it difficult to perfectly install it on the car window, and hence, this forms bubbles on the windows that reduce the visibility of the driver.
To eliminate the bubbles from the windows, you can use a soapy solution or turn up the heat. Besides this, pins can be used to remove the bubbles, or you can also iron those bubbles. If your tint film is old, you can replace it with a new one, and in case of poor installation, you can follow this step-by-step guide to remove window tint bubbles from the vehicle window.

